Tuesday, 1 November 2011

A small toilet bag.

This is a short in between post.
I made a small toilet bag for my sister.
She asked for an orange fabric.
Now orange can be a very dangerous colour; it is easily overpowering.

I found a lovely fabric , called Bekah from Kaffe Fassett. The orange is softened by the other colours.

Instead of the usual straight top I went for a more curved one .
I personalised the little bag by adding an embroidered monogram.
Here you can see my Bernina machine in action:

As a finishing touch, I added this beautiful zipper pull:
For the lining I used a daisies and dots screen print by piece o' cake in a soft orange.
Here are some final pictures:
Size: L: 22 cm, H: 14 cm, W at base: 7 cm. 
What do you think?
I hope my sister will be pleased with it.

These toilet bags are not yet available in my shop but can already be ordered and will be custome made for you. Just send me a mail at zest4colour@gmail.com with your choice of colour, size and preferred monogram.
Kristien

PS. Still working on the baby quilt.

Sunday, 23 October 2011

A babyquilt in progress

One of my nieces gave birth to a baby boy. As a present, I am making a baby quilt, not only to use as a bedcover but one that can also be used as a playmat.
I found my inspiration in 2 books.
This is the first one:

I used this quilt as a guide:
I reduced the size.
The "making of" is very clearly explained.
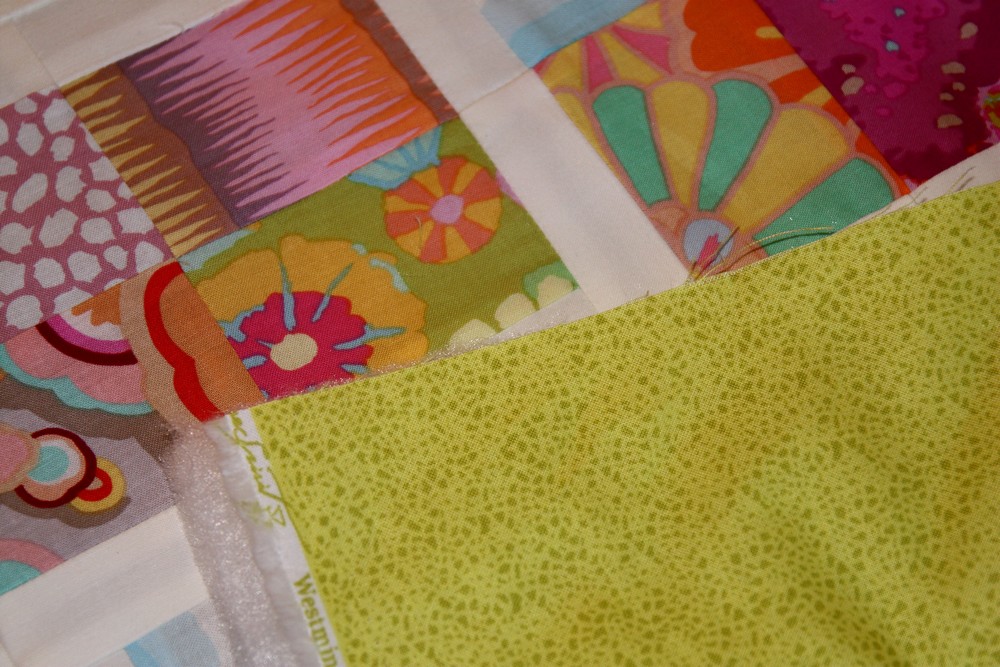
Fabrics: for the quilt top I used Kaffe Fassett fabrics. I chose the softer, pastell prints.
For the background I took a plain off-white cotton.
For the quilt backing I used a lovely citrine cotton fabric from Free Spirits.
Here is a tiny preview:


The true colour is hard to capture on film. The backing is far brighter than you see in the above picture.

This is a better resemblance, but in real time it is more sparkling lemon green-yellow. I love this fabric.
In this book:
 I found my finishing touch: that little extra which makes the quilt special. I will tell and show you more about it once the quilt is completely finished.
In the mean time I made the quilt sandwich: quilt top - wadding - quilt backing, which is now ready to be quilted.
This is it for today.
Have a nice evening.
Kristien


Wednesday, 12 October 2011

New at Zest4colour!

I just added this gorgeous purse to my shop:

For the exterior I used a lovely pale blue fabric.
If you take a closer look at the next picture, you can see tiny silver sparkles.
For the lining I took a Kaffe Fassett cotton in a lovely pastell colour tone:

The simple silver nickel kisslock frame and chain give the purse a stylish, modern look.
A small strap and a rectangular buckle add a finishing touch.
Available here.
Enjoy
Kristien

Saturday, 1 October 2011

Adjusting a clutch

I sold this lovely clutch to a friend:
 She asked me if I could add a chain.
I had designed this clutch to be used as a handheld evening bag.
Adding a chain was a bit tricky but in fact not difficult at all.
I took 2 tiny D-rings and made 2 small, fitting straps; they are only 9 mm wide:

How do you make these straps?
I cut a piece of fabric 6 cm lenght x 3.6 cm wide (4 times the width of the finished strap) and interfaced it for strength.
Fold in half along the length of the strap and then iron . Open and fold both sides inwards to the center crease line. Fold the the strap in half lengthways again and edge stitch along both edges.
You get this:


I undid some stitches at the side corners of the finished bag and sandwiched the strap folded over the D-ring in between the lining and exterior:
Then, I machine stitched along the top edge of the clutch, starting at one side where the flap is attached to the bag; securing the little strap and smoothly edge stitching along the forefront till I reached the other side. I sewed several securing stitches at both ends.


I attached the chain and...
Finished!


Have a wonderful, warm and sunny weekend.
Kristien

Sunday, 11 September 2011

My great getaway bag - Part 4

Finally, the last part of my great getaway bag making: the final assembly.
The 2 major parts of the bag were ready to be joined together. 
First, I stitched the lining base to the exterior base. This is easy.
I turned my exterior bag inside out and placed the lining bag base and exterior base wrong sides (WS) together. I stitched along all 4 sides with a 5 mm seam allowance.
I folded the exterior bag back, outside in, over the lining. The lining is now inside. 
I stitched the lining and exterior top edge and a part of the side seams together, along the seam that was created by joining the zip top panel and the main body pieces. It can easily be machine stitched with a 5 mm seam seam allowance. Just keep away from the original stitching line.
Then, I stitched - by hand - the folded edge of the lining to the zip.

  
I attached the adjustable strap to the bag, following the guidelines on p.106-107.


Some final pictures:


Ready to go!
Kristien
Related Posts Plugin for WordPress, Blogger...