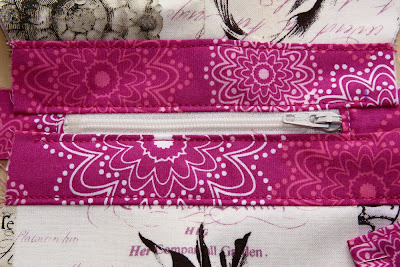
Now it is time to install the zipper.
The zipper I bought was too short. This should not be a problem.
I solved it this way:
You can give your zipper the length you want, by adding a small piece of fabric on each side.
Put the piece of fabric on the zipper, RS together and stitch close to where the zipper teeth end.
Fold the fabric over and topstitch (left side of picture)
Then I placed my finished fabric-zipper face down on the right side of an exterior panel, like explained in the book on p.97.
Follow the book and you get this:
I flipped lining and exterior over, so that the wrong sides were matching. Here , I am topstitching across the top of an exterior band, starting and stopping 1 cm from each edge.
I didn't have to trim my zipper.
I repeated everything for the other side of the zipper:
Here, the zipper is placed face down on the 2nd exterior panel.
Here, the 2 sides are topstitched; lining and exterior are facing each other WS together.
Then, I made and attached the tab:
To finish, following step 11 on p. 98, I separated lining and exterior from each other. I placed the 2 exterior pieces RS together, as well as the lining pieces.
Do not forget to leave the zipper open, or it will be very difficult to open it once exterior and lining are stitched. The zipperpull will be on the inside.
Step 11 is very clearly explained.
At the top you can see the opening in the lining, necessary for turning the purse RS out.
I turned it through the opening and closed the gap in the lining by hand.
Finished!
Have a look.
I prefer this zipper finish.
It holds my lipstick, lipgloss, little mirror, USB stick, handbag hook..
I love my little purse
Kristien


No comments:
Post a Comment