Sunday 27 March 2011

The Exclusives!

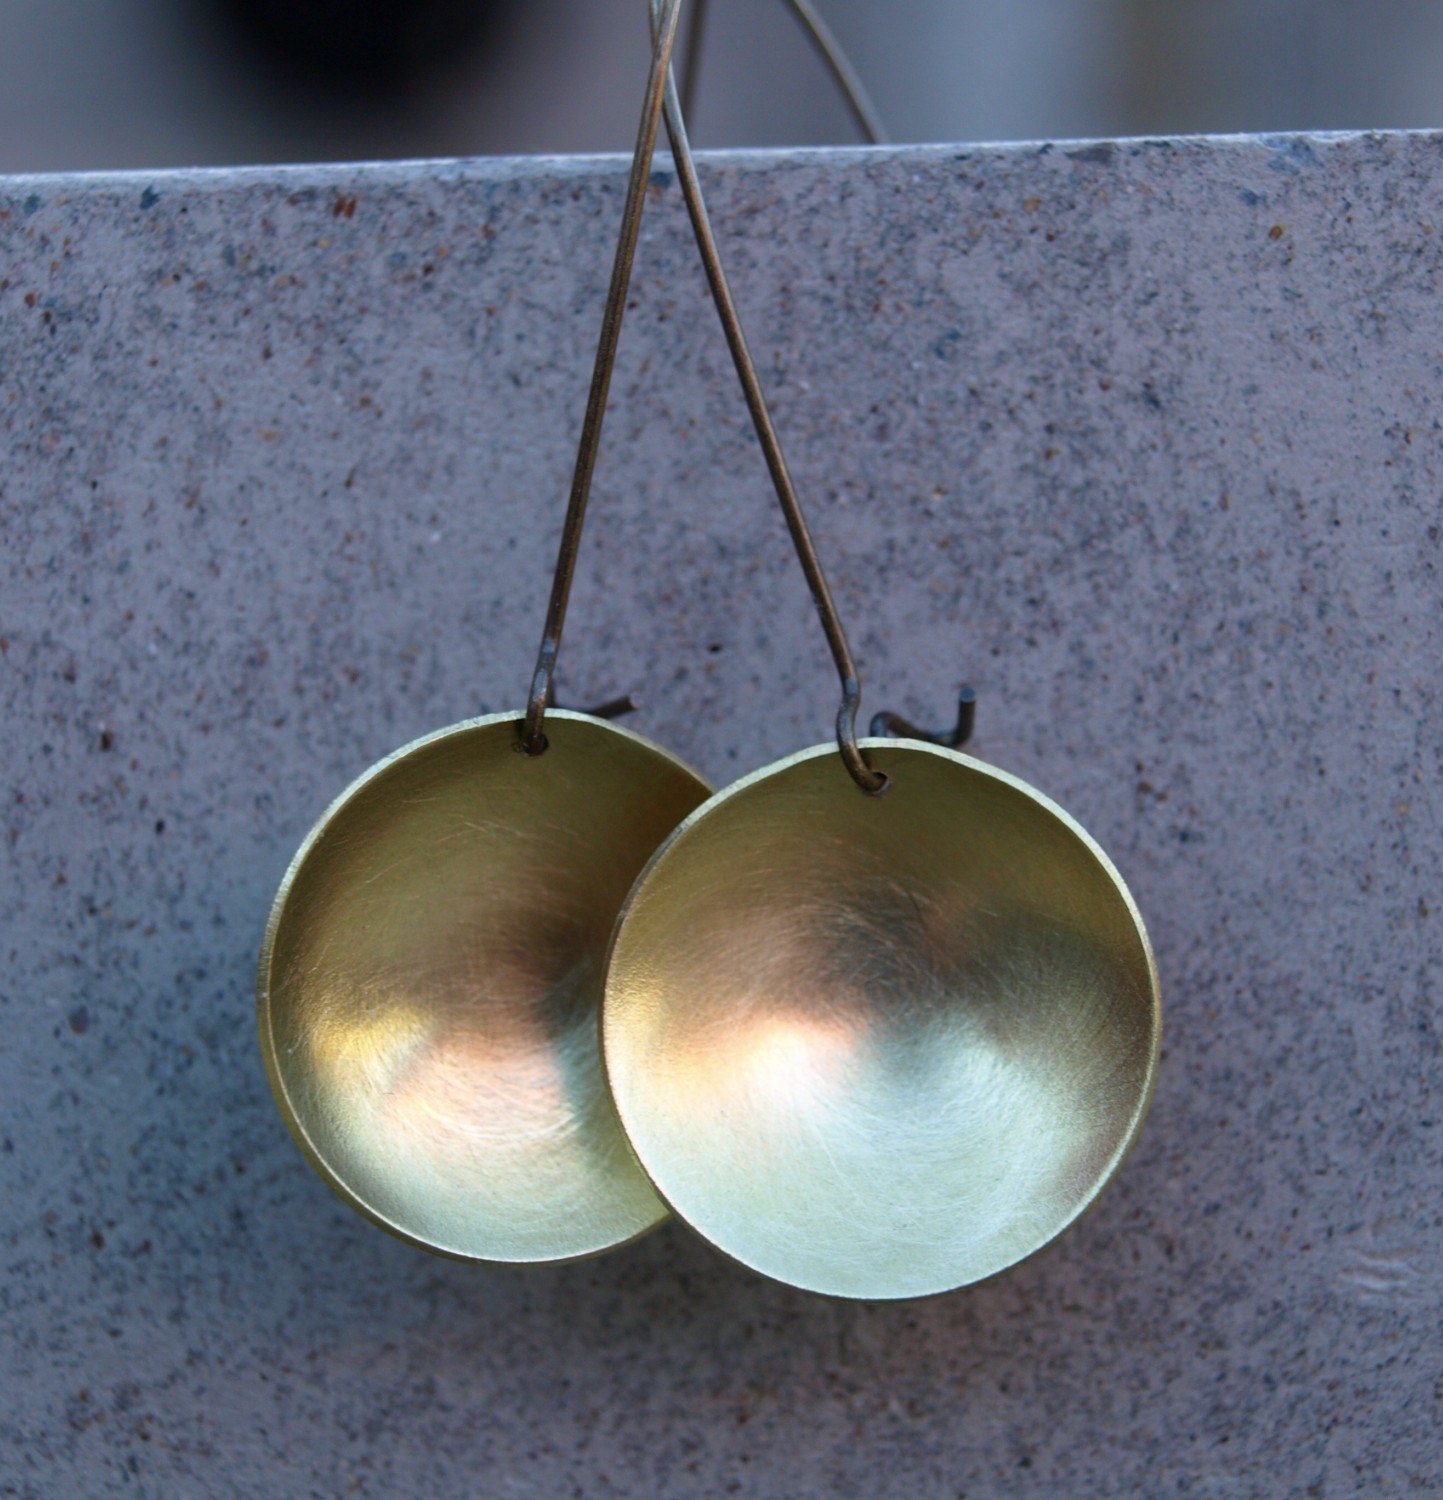
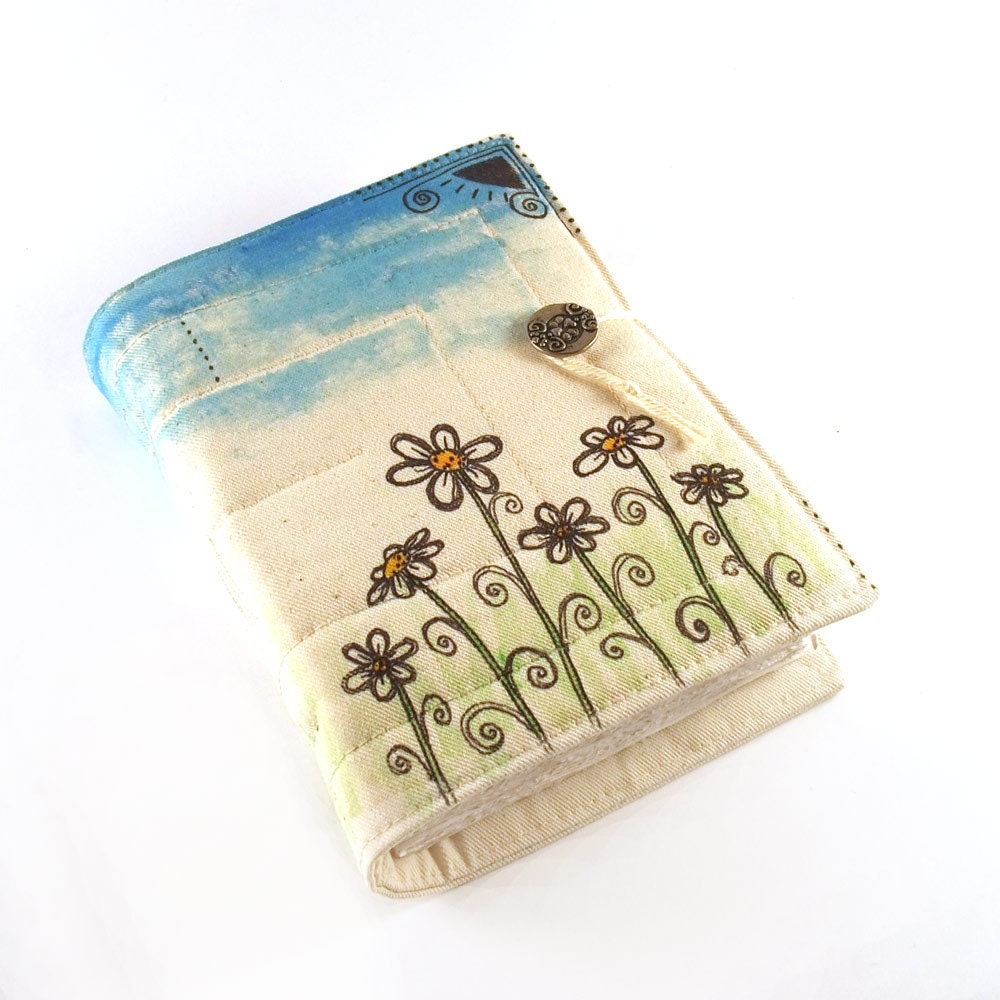
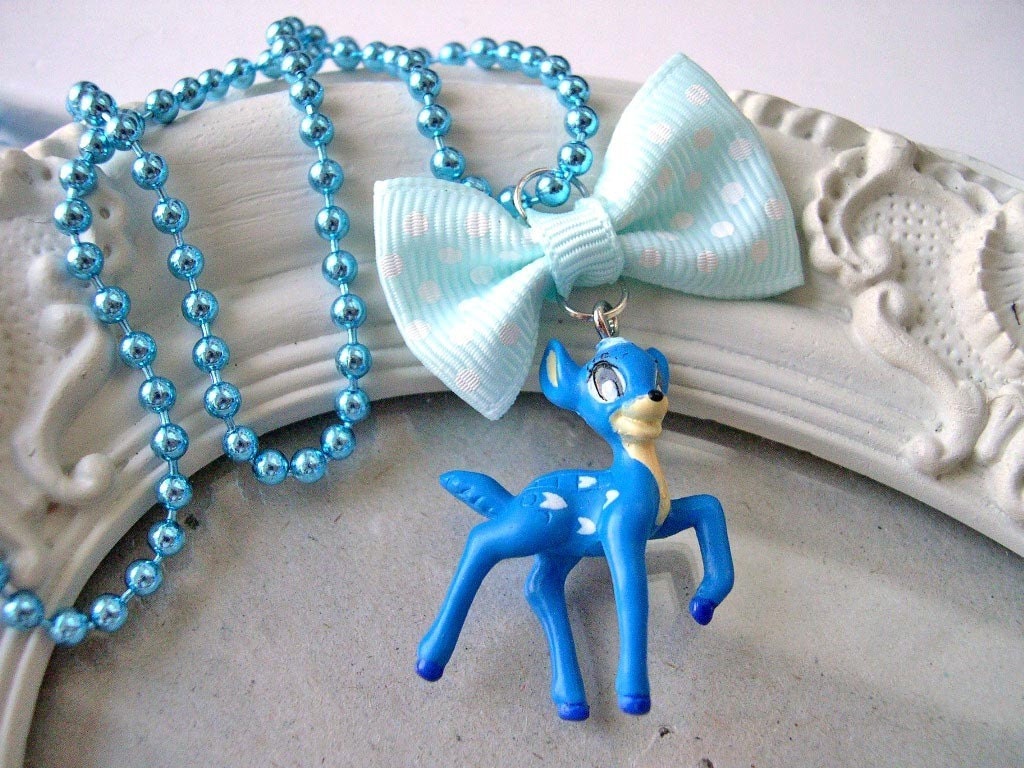
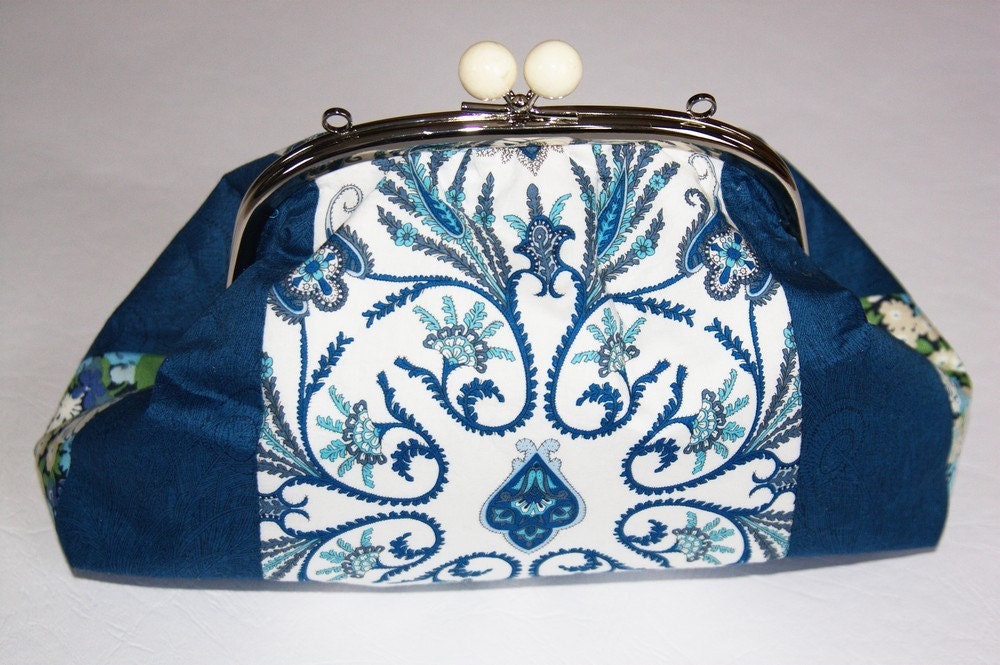
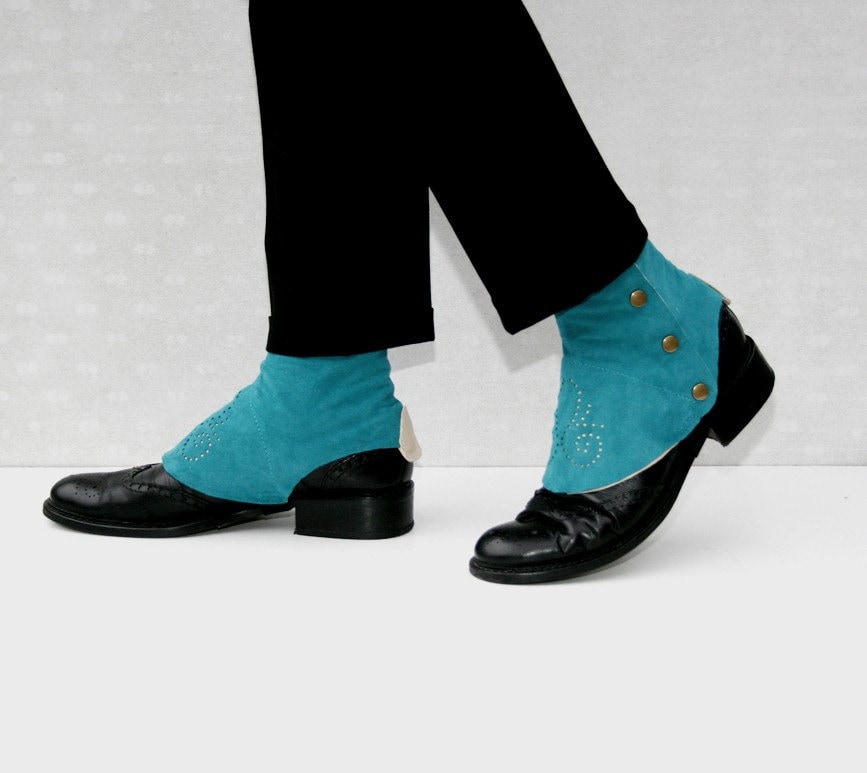
I am launching a new range of clutches.
They will be- truly- limited editions.
For each one, I carefully selected matching fabrics and embellishments.
Have a look:


They will all be available in my etsy shop.
Enjoy.
Kristien

Sunday 20 March 2011

Sunday 13 March 2011

My oversized fashionista Bag - Part 3

Now I was ready to put exterior, lining and flap together.
First, I stitched (right sides together) the flap to the exterior back side, not the part with the twist lock button, like it is explained in step 12 on p.99.

Then, I inserted the exterior bag, (right side out), with flap and small strap loops down, into the lining bag (wrong side out). The pocket of the lining should be at the side of your bag where the flap is attached.
Now , with the 1 cm seam allowance, the earlier 5 mm seam is covered.
I turned the bag right side out through the hole in the lining and topstitched the bag top edge.
You get this:

Do you see the shoulder strap loops? They are strongly fixed between exterior and lining.
Then, following step 15 and my tutorial, I applied the eyelets.
This was the scary bit; with one wrong scissor movement I could destroy the bag. 
I clipped on the shoulder strap and handle and ... finished!
I enjoyed making this bag.
Kristien


Thursday 10 March 2011

My oversized fashionista Bag - Part 2

I moved on to the bag lining with zipper pocket.
I used a William Morris print by Fabric Freedom; a lovely, matching fabric; 
At first, it looks difficult to make and insert the pocket, but it isn't.
The tutorial on p.66-69 is very easy ; just follow it step by step.
I used an 18 cm zipper and didn't trim it .
I interfaced the pocket fabric to reinforce it.
As I didn't have double sided tape, I carefully pinned the bag fabric to the zip along the sides of the rectangular hole.
Then, with my zipper foot, I stitched around the zipper.

You get this neat, clean result:
This is the back of your pocket:
I sewed the darts on the lining
and stitched both parts of the lining together, making sure they matched exactly at the darts.
Then came the bag exterior:
I first inserted the twist lock button to one part of the bag exterior following step 2 on p. 92. This is easy.
I sewed the darts like I did on the lining
Then it is advised (step 6) to stitch the shoulder strap loops to the outside of the bag.
I didn't like the result; this wasn't the perfect finish I wanted, so I put the small straps at the side seam between outer bag and lining. This is in fact much easier to do and give the straps a stronger hold. 
Follow me, I will show you how.
First, I assembled the exterior bag, by completely stitching both pieces together, matching the darts.
Next, I put the shoulder strap loops with bold snaps upside down at the top of the side seam on the outside of the exterior and stitched it in place with a 5 mm seam:
It is not a perfect picture, but I hope you understand what I mean. Once the lining and exterior are assembled, it will be clear where this strap will be.
The last part of the bag is the flap. Step 10 on p.98 explains clearly what to do. Topstitch slowly to get a good result. I always use a topstitch needle and quilting tread  for topstitching ; it is stronger and thicker than the usual threads.
Finally I inserted the twist lock front plate. As mine wasn't a screw on plate, I preferred to do it following a tutorial from Nicole Mallalieu. I talked about this in a previous post, here is the link.

All that is left to do now is to assemble lining, exterior and flap, insert the eyelets and attach the handles.
To be continued..
Kristien


Saturday 5 March 2011

My Oversized Fashionista Bag - Part 1

A while ago I bought Lisa Lam's "Bag making Bible".
This is a brilliant book, but you have to get used to it.
You are constantly redirected to another page; which is disturbing at first.
I fell in love with the Fashionista Bag.
I ordered the same Harris Tweed  fabric. This arrived within a week, together with labels.
First, I  cut the fabric and interfacing pieces.
The tweed fabric has a pattern of squares and lines.
Make shure to position the pattern pieces on the exterior fabric in such a way that the lines  of the flap and main body pattern match.
I also interfaced the lining fabric and the zip pocket.
This is not mentioned in the book, but if you look at the pictures, it has been done. I left out the fleece for the lining.
Then, I made the shoulder strap and shoulder strap loops. 
The loops are easy to make and clearly explained on p.102-103:
The shoulder strap took some time before it was like I wanted it.
The tweed is a thick fabric and for this strap you get different layers on top of each other. 
First, you have the small shoulder strap chain loops:
These are positioned at the short side , between the 2 halves of  the shoulder strap.
This is what you will have to stitch together. My sewing machine protested.
I took the stitches out a few times and broke a needle. 
Always use jeans sewing needles for this heavy fabric.
In the end I was pleased with the result:

Then came the piped handle.
If you follow the steps on p.103 and then p.108-109 it is not difficult.
I only didn't manage to fold the fabric nicely down inside the pipe, like Lisa's picture shows.
Also, the suggested 5 mm (inside diameter) flexi-tube didn't fit. At our local DIY shop I found many sizes of Flexi-tube. A 4 mm tube fitted perfectly.


Next, I made the bag lining and inserted the zip pocket.
More about that in my next post.
Kristien

Related Posts Plugin for WordPress, Blogger...